Tutorial 1 was about basics and the mountain range we mapped used default bumps. In this tutorial, we will use the same mountain range but adjust bump for each layer to better fit the type of ground it represents.
The function of bumps in 3d program is of course to modify the surface normal and give more detail to the surface by affecting lighting. In GroundWiz, modified surface normal also affects distribution of layers, so it is extra important to pay attention to bumps.
Step1: Ready to Start
First open scene file 'gwTut2_bumps.max'. There are a couple of cameras placed around the scene paying closer attention to layers we will be adjusting. To quickly see the end result, just render one of the camera views since the final material has been already applied. When ready to move on, go to Material Editor and apply material from slot2 'Mat Start' to mesh 'Terrain' and we are ready to start.
Step2 : 'Base' Layer
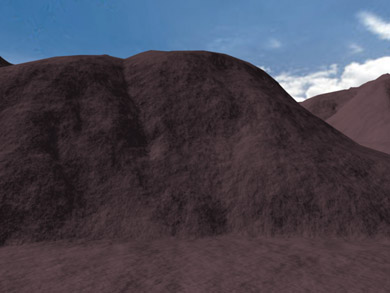
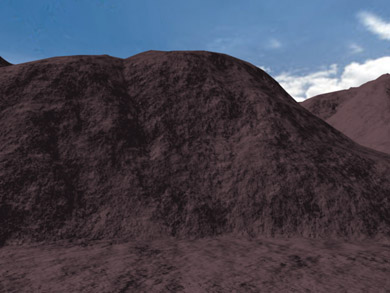
First we will adjust layer 'Base' since it is the parent of all layers and will affect all of them. Disable all the layers except for the layer 'Base' and render camera view 'Camera Base Focus'. All we will do on layer 'Base' is to make it stronger to look more like rough rock, so increase bump Strength to 90% (the parameter is under Bump Properties).
1. Default Bump strength 50%
2. Bump strength 90%
Step3: 'Grass' Layer
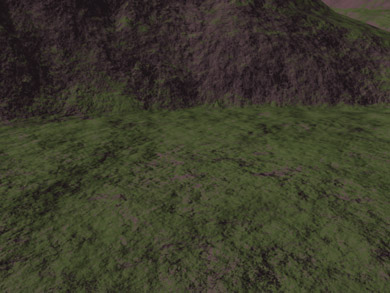
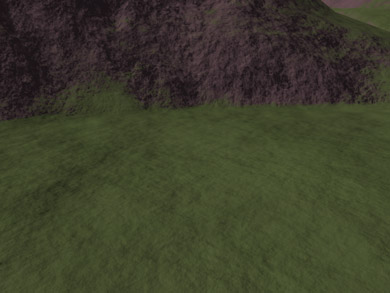
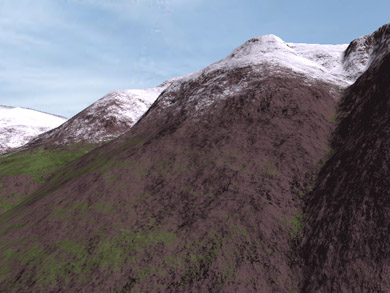
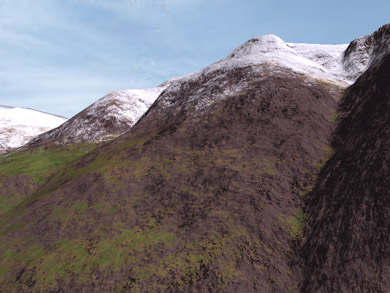
Next we enable layer 'Grass' (make sure child layer 'FreshGrass' is still disabled). To better see 'Grass' layer, tilt down camera 'Camera Base Focus' and render. It should be obvious that grass with default bump parameters looks too rough. The main reason is that parameter 'Parent Influence' is 100%. It means that grass will be as bumpy as the parent layer 'Base' and even more bumpy based on its own strength. We should also decrease Bump detail to make it look smoother. The following pictures were rendered before and after adjusting bump of 'Grass' layer :
1. Parent Influence:100% Detail:60%
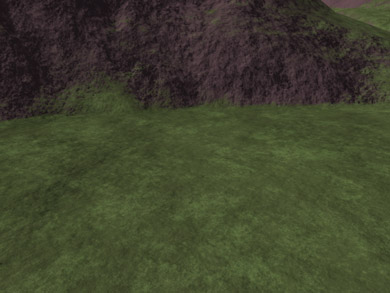
2. Parent Influence:30% Detail:30%
Step4: 'FreshGrass' Layer
When it comes to layer 'FreshGrass', there isn't much to do. That layer was put in for some color variation. Since it is a child of layer 'Grass', we can just use the same bump for it. To do that, we make sure 'Parent Influence' is 100% and that its own bump strength is 0%. And enable the layer, of course.
1. Without layer 'FreshGrass'
2. Layer 'FreshGrass' enabled
Step5: 'Snow' Layer
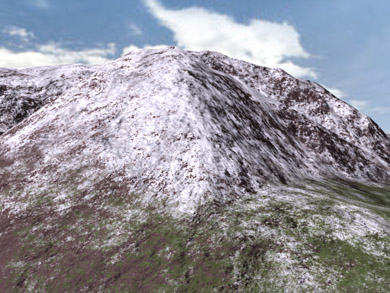
Parameters of 'Snow' layer are similar to 'Grass' layer. It shouldn't have much 'Parent Influence', but should be smoother than any other layer. So decrease bump detail and also switch current view to camera 'Camera Snow Focus' in order to better see the snow layer.
1. Parent Infl.:100% Strength:50% Detail:60%
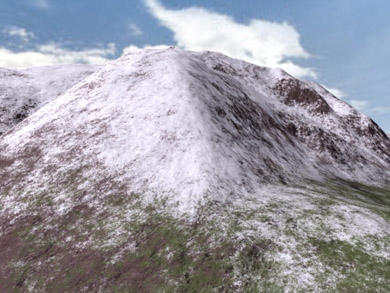
2. Parent Infl.:30% Strength:40% Detail:20%
Step6: 'Soil' Layer
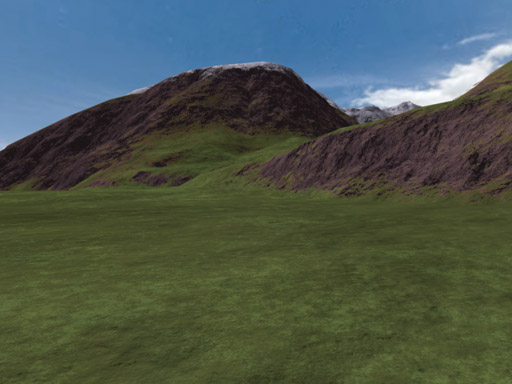
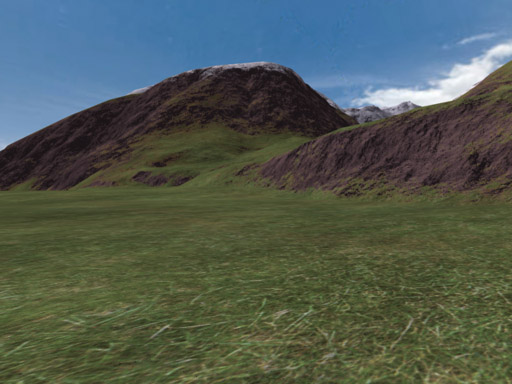
Finally, the only layer left to be turned on is layer 'Soil'. It's the least important since it's mostly hidden underneath other layers but it does add some color. Decrease bump's 'Parent Influence' to 30%, strength to 40% and detail to 30%. And renderings:
1. Without layer 'Soil'
2. Layer 'Soil' enabled
Extra Detail With Maps
This section is only a quick reminder of what can be done with image maps when used as bumps and colors on layers (GroundWiz Lite doesn't support use of images for layer colors).
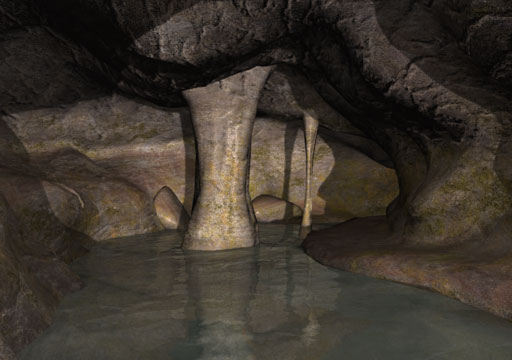
GroundWiz can do great looking procedural terrain maps by only using colors and procedural bumps. But for close-ups, there is really nothing better than real life images. Images can be used for bumps and colors to add extra detail like in the following example when rendering camera view 'Camera Ground'.
 |
Grass layers using simple RGB color |
 |
Grass layers using image map for color |
The following example shows how different it is when images are used for color and bump map from when no images are used.
1. Without any color and bump images: the walls look very dull without using any images for color and bump.
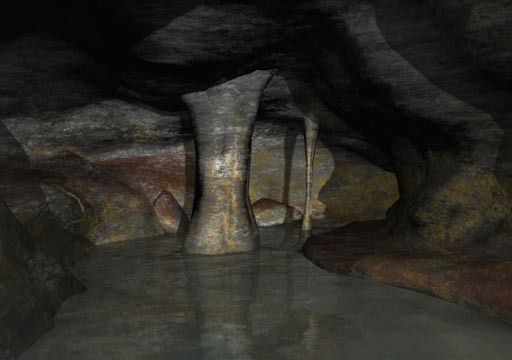
2. With only color images: mixing images and RGB color makes the walls already look realistic.
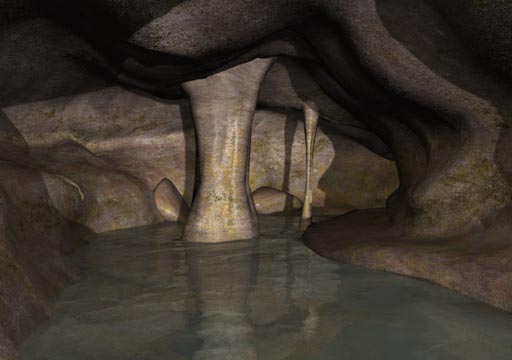
3. With both color and bump images: along with color image, bump image map adds detail of cracks and roughness to the walls.